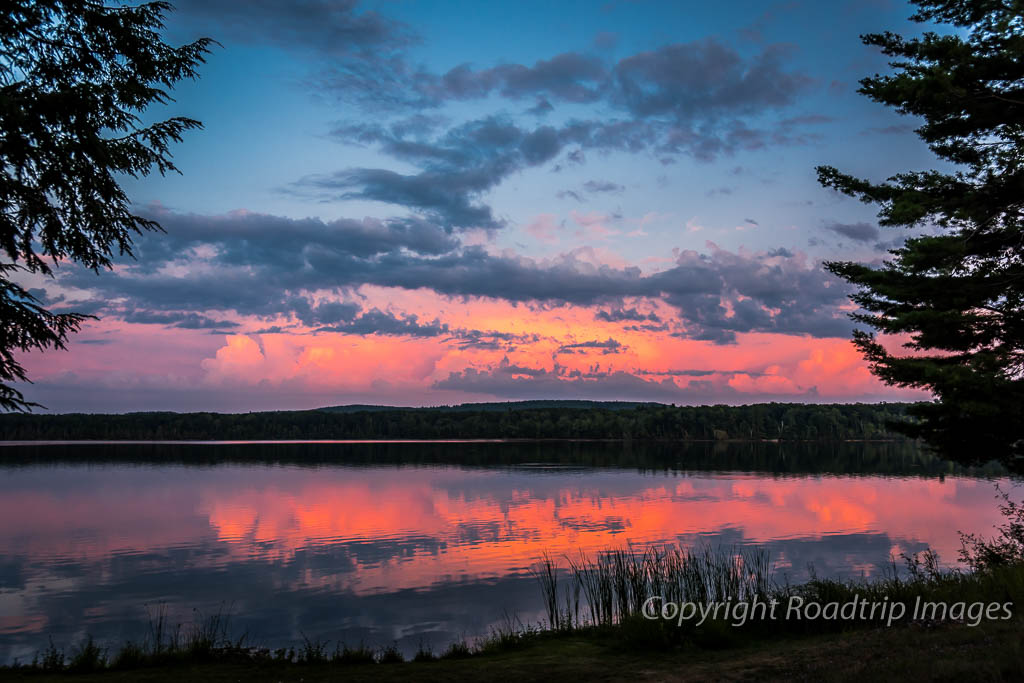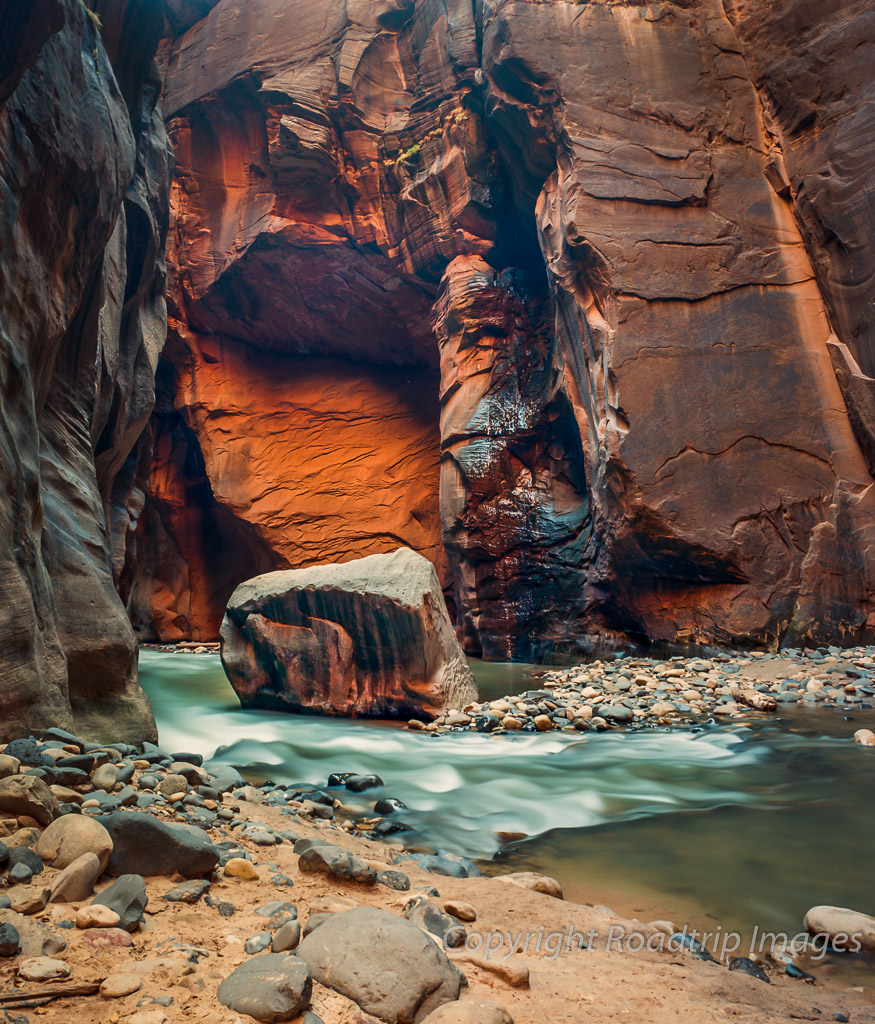
When you’re out on your road trips and shooting all those epic vistas, don’t forget to take some time to look for smaller scenes.
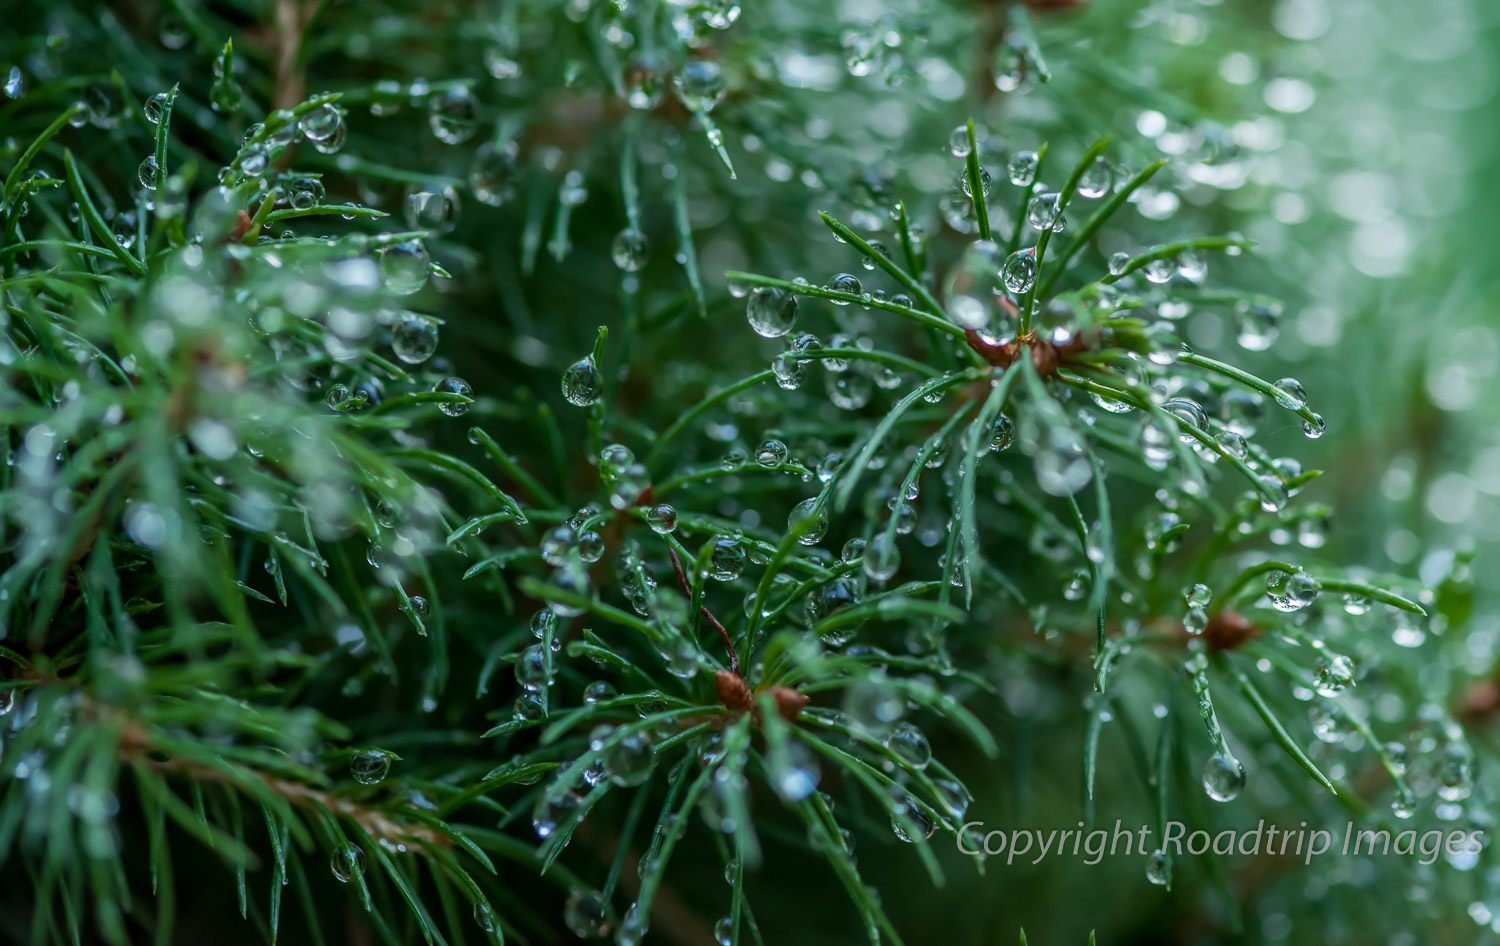
The large, expansive views always grab my attention first so I have to remind myself to also look for the more intimate scenes all around us. This can be especially useful when the weather turns and you get some rain or overcast conditions that render the big scenic view less than desirable. When this happens don’t just pack it in for the day. Look for smaller scenes and play around with depth of field for creative effect like the image above. It had been raining much of the day and once the rain finally stopped I went out looking for photographs and spotted these water droplets hanging on the needles of this evergreen. I decided to use a shallow depth of field since much of the background was distracting and would take away from the subject. As you can see, only a few of the water droplets are sharp as much of the rest of the scene drifts out of focus. A macro lens can be very useful for these situations but use what you have. A longer lens can also work if you stand back a bit and zoom in on the area of interest.
Remember, for shallow depth of field use a large f stop like f/3.5 or larger if your lens opens up larger than that. Smaller number = larger hole to let light in. This results in a shallow depth of field or small amount of the near-far elements of the photograph being in focus. If you want more of the image to be in focus from front to back use a smaller f stop like f/16 or even f/22. Larger number = smaller hole. This creates a larger depth of field so more of your image is in focus. Play around with these settings on your camera so you can see the differences. You may have to look in your camera manual to find out how to take it out of full automatic mode and allow you to gain control of your aperture or f stop settings. Some cameras will have an aperture priority setting that lets you choose the f stop and the camera will select the correct shutter speed to give you a correct exposure. If yours has this capability, set it on that and shoot that way for awhile to get used to thinking about depth of field. Just be conscious of the resulting shutter speed to make sure it’s fast enough if you’re hand holding the camera.
You may be tempted to always go for the greatest depth of field because you want everything in focus. For many landscape shots this may well be true. But there are times when a shallow depth of field is better and the image above is one such example. Often we may find where the background behind our subject is distracting or just not that interesting. If you were to use a shallower depth of field you can blur the background enough that it effectively goes away and your subject stands out against a mix of colors. Of course when you do want everything from foreground to distant background in focus then being aware of your f stop and resulting depth of field will help you get there.
Depth of field is a very powerful tool for the photographer and one you need to master to get better photographs. Sometimes you want everything in focus and sometimes you don’t. It’s a personal choice of what you’re trying to convey in your photograph. Get some practice using the different aperture settings on your camera and gain more control of your images.
Nikon D810 w/Micro-Nikkor 105mm @ f/4.5, ISO 1000, 1/125